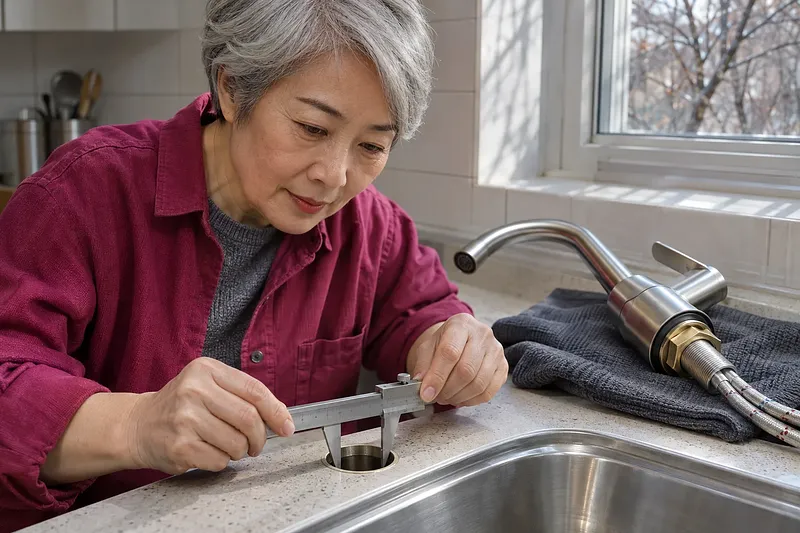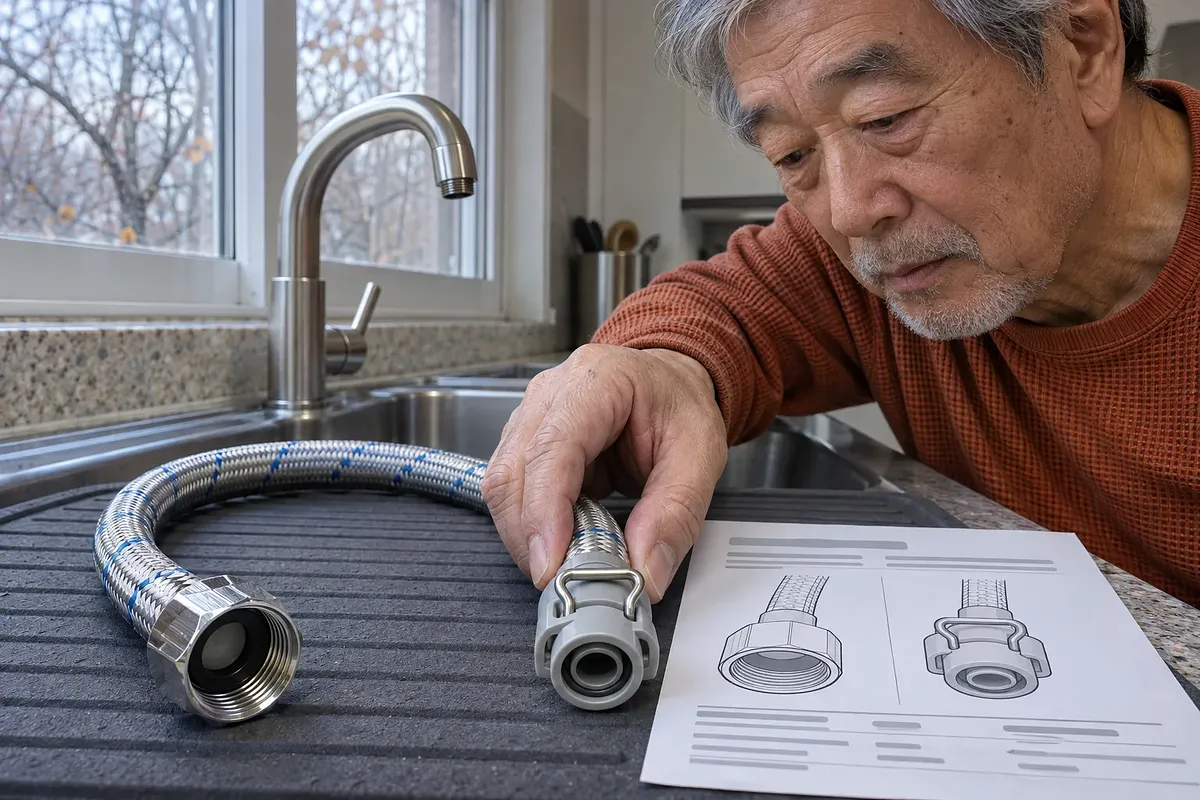
To replace a kitchen faucet hose, first find where water droplets start to form. Compare the faucet model name and photos of both ends of the hose with the manufacturer's parts list to identify the right part. Disconnect the hose only if you can shut off both the cold and hot water.
The length examples below are based on parts released in 2022 and listed in Moen's pull-out hose identification chart.
How to tell a supply hose from a pull-out hose
Look under the sink and follow each hose to see what it does. The supply hoses carry cold and hot water separately to the faucet. The pull-out hose carries water from the faucet body to the pull-out spray head.
| Hose type | One end | Other end |
|---|---|---|
| Cold or hot water supply hose | Cold or hot water valve under the sink | Supply connection on the faucet body |
| Pull-out hose | Outlet connection beneath the faucet body | Pull-out spray head above the sink |

After replacing the hose, restore the water supply and check for leaks with the faucet both off and running.
How to find where the leak starts
To narrow down what needs replacing, look for the first spot that gets wet after wiping everything dry, rather than where water has pooled. If water keeps pouring out, shut off the supply before looking for the leak. If you've been running hot water for a while, wait for the hose near the spray head to cool. The Daelim Trading FS6017C-RDW manual warns that touching this hose directly can cause burns.
- Use a dry cloth to wipe the valve, the hose itself, and the connections at both ends.
- With the faucet handle in the off position, check whether droplets form again on the valve or supply hose.
- If everything is still dry, run cold water briefly and check the connection between the spray head and the hose. Also check the pull-out hose connection under the sink.
- Take a photo of the spot where droplets first formed. When you contact the service center, also tell them whether the leak occurred only while the faucet was running.
| First spot to get wet | What to check and what to do |
|---|---|
| A crack in the hose itself | Check the replacement part number for that hose and whether the hose is sold separately |
| Between the spray head and hose or around the nut | Check the connection and gasket. If only the gasket is damaged and it's sold separately, replace it with the specified gasket |
| Supply valve body or handle stem | Ask to have the valve inspected. If water keeps flowing, stop trying to disconnect the hose |
| Faucet handle or body | Check whether water is running down from the faucet body, then ask the manufacturer to inspect the body |
Specifications to check before ordering a replacement
Record the faucet model name and how each end of the hose connects. Even if the nut on one end looks like a match, the other end may be held in place by a clip. You don't need to loosen the nut on the supply connection to take photos.
| What to check | What to record |
|---|---|
| Manufacturer and model name | Full model name shown on the warranty, installation manual, or product box |
| Both ends of the hose | Where each end connects, whether it uses threads or a clip, and the shape of any visible threads or retaining clips |
| Hose length | Overall length and unit listed in the manual. This is not the length of hose exposed when you pull out the spray head |
| Gasket | Whether and where a gasket seals the gap to prevent leaks. If it isn't visible from the outside, check the exploded diagram |
| Part to order | Hose part number in the parts list for your model, whether the gasket is included, and whether it can be ordered separately |
When you know the model name but several hoses are listed
If several types of hose were used in the same faucet model, you'll need photos of both ends of the hose. In this case, Moen recommends comparing both ends of the existing hose with the illustrations in its identification chart. If you can't tell them apart, send the manufacturer's service center photos of the whole faucet and both ends of the hose.
Compatibility between hoses of the same length
Even when hoses are the same length, the part number you need to order depends on the model. According to Moen's identification chart, 150259BL and 150259CST, both released in 2022, are each 68 inches long. The two parts even attach to the faucet body in the same way, but the manufacturer specifies different replacement part numbers.
| Moen hose part number | Overall length | Replacement part number listed in the identification chart |
|---|---|---|
| 150259BL | 68 inches | 150259BL |
| 150259CST | 68 inches | 150259CST |
Even if the hose diameter or nut shape looks similar to what you have, check the part number for your model before ordering. If the part with the original number has been discontinued, it's more reliable to check the replacement number specified by the manufacturer. For Daelim Bath products, you can find the parts store under “Service/Inquiries” on the official website. If you need an inspection or repair, use “1:1 Inquiries” in the same menu.
How to remove the hose and check for leaks after replacement
Disconnect the hose only after closing both the cold and hot water valves and making sure the water has stopped flowing. Moen's pull-out hose installation instructions also say to close the supply valves before starting. If the connections don't fit, stop rather than forcing them together.
- Close both the cold and hot water valves under the sink. Open the faucet and make sure the flow stops after the remaining water drains from both the cold and hot sides. If a valve won't turn or water keeps flowing, don't loosen the hose. Request a repair.
- Check the installation manual for your model to see how to disconnect the existing hose. If the pull-out hose has a weight, take a photo of its position before disconnecting the hose.
- Place the specified gasket where shown in the manual and connect the new hose. For threaded connections, follow the tightening instructions. For clip connections, make sure the retaining clip is fully engaged. The Daelim Trading FS6017C-RDW manual warns that applying force to the tip of the spray head can crack the threaded section and lead to scalding.
Overtightening the nut may damage the gasket and cause a leak.
Daelim Trading FS6017C-RDW Installation and Use Manual, Water Supply Hose Connection section
- If your model has a weight, reattach it at the position specified in the manual. Pull out the spray head and let it go to see whether the hose catches on the pipes.
- Turn off the faucet and slowly open the supply valves. First, use a dry tissue to check the valves and supply hose connections. Then run cold water and check the spray head and both ends of the pull-out hose. If droplets form again, shut off the supply and find where the water is leaking.